Bonny Gaol walkthrough - Elden Ring Shadow Of The Erdtree
Here's how to clear Bonny Gaol in Shadow Of the Erdtree
Looking for a full rundown of Bonny Gaol in Elden Ring: Shadow Of The Erdtree? Bonny Gaol is a mini-dungeon in Elden Ring's DLC Shadow Of The Erdtree that has a little bit of everything, from prison cages to rooms replete with jars to sewer caverns with giant rats, just itching to rip your Tarnished to shreds. Like its cousin Belurat Gaol, this is certainly one of the creepier areas in Elden Ring: Shadow of the Erdtree.
In this guide, we'll explain exactly what you need to do to loot Bonny Gaol of everything contained within its spooky walls.
Bonny Gaol walkthrough
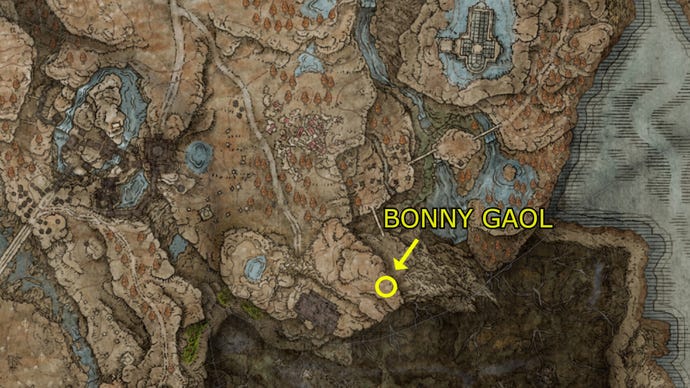
To access Bonny Gaol, go south of Bonny Village past a wooden bridge. Watch out for the giant scorpions in the region; eventually you'll pass some fences and prison cages that mark the gaol's cave entrance. The Bonny Gaol Site of Grace lies within.
From your starting vantage point in the dungeon, you'll be very high up above a pit decorated by an array of jars hanging from chains. For future reference, let's call this the main Bonny Gaol pit chamber. A fleshy Jar Innards enemy will be to your right and it'll start spraying projectiles at you. Kill it for some peace of mind and then explore the nearby rooms, taking out the undead Shadows in each. Watch out for another Jar Innard that emerges from a pot behind you in the first room on your right; you'll pick up 8 Frozen Maggots here.
After checking out the rooms, carefully take a peek over the edge of the platform you're standing on. There will be a pot that you can jump on; hop onto it and onto the next one below to reach a previously inaccessible platform with a circular button. On this platform are two rooms with another Shadow, two Jar Innards, a Frozen Maggot, and a Hefty Cracked Pot. When you're done here, stand on the circular button and one of the jars will descend, letting you go back up.
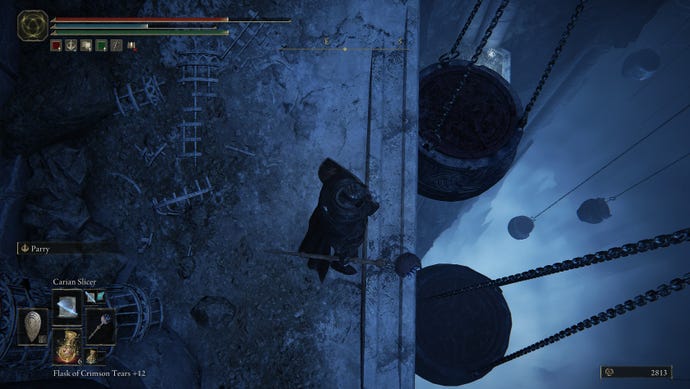
Proceed along the platform into the room you haven't explored yet, which will be full of cages, a Shadow seated at a table and a corpse holding 10 Bolts. Three Shadows will attempt to ambush you from your right as you approach the corpse, so watch out. Open the door, and in the next room you'll find another two Shadows and a cellar opening that leads down to the sewer-like caverns beneath Bonny Gaol.
Drop down into the caves for some spelunking and grab the Broken Rune. If you have a light source like the Sentry Torch or the Starlight Sorcery, now would be a good time to activate it, as it's very dark here. The sewer caves aren't massive, but have a few branching pathways and obscured rooms, so explore them thoroughly. You can expect to run into giant rats along with skeletal slimes that lurch up from the ground and fall down from the ceiling, so take your time and step with care.
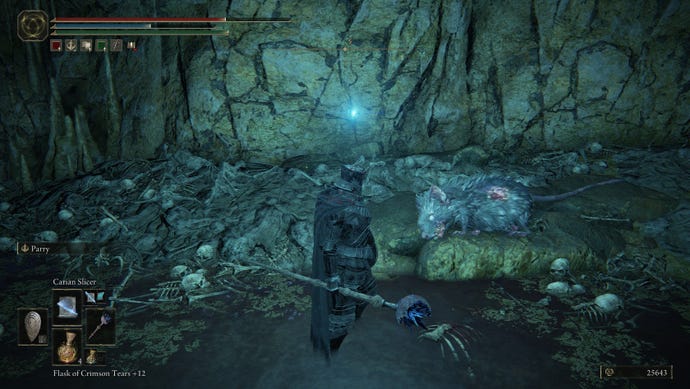
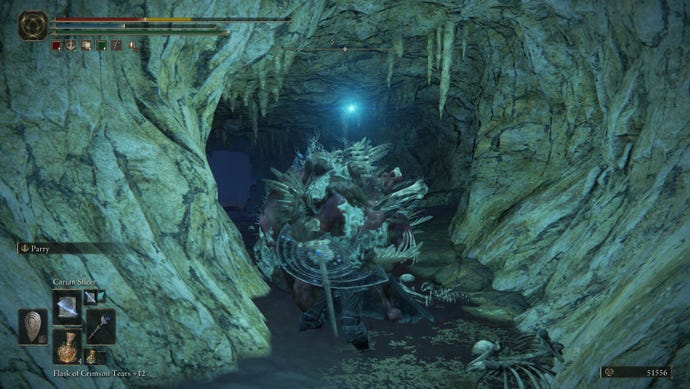
After grabbing the rune, turn around and explore the tunnel behind you. You'll run into the rats - three smaller ones and one particularly immense bastard. Kill 'em all and be sure to duck into a small side cave with a corpse that holds 4 Smithing Stone [2]. At the end of the tunnel you will find a ladder that leads back up to the upper levels of Bonny Gaol. Climb it, watch out for the Jar Innard at the top, and pick up the Stalwart Horn Charm + 2 from the corpse.
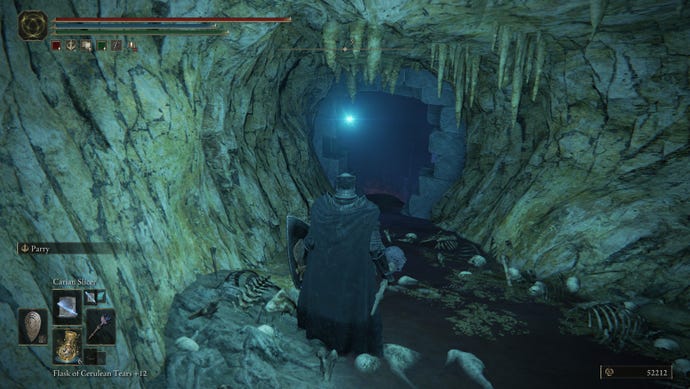
You can exit the room with the charm via a hole in the wall that will take you back to the main Bonny Gaol pit chamber, but if you've been following this guide you don't need to go back there. Instead, descend the ladder and retrace your steps in the caves to explore the other direction you didn't navigate. You'll run into those blobby skeletal slimes. You can safely run past them as long as you're fast - a Broken Rune lies nearby, and an Invigorating Cured Meat can be found on a corpse lying next to a portcullis.
Once you've explored all corners of the tunnel, search for a brick wall opening that stands out from the rest of the cave walls. Go through the opening and you'll drop down into a wide chamber full of jars. There are several Living Jars lurking about - three large ones and three small ones - and you can loot a Broken Rune and Lost Ashes of War from corpses in the vicinity.
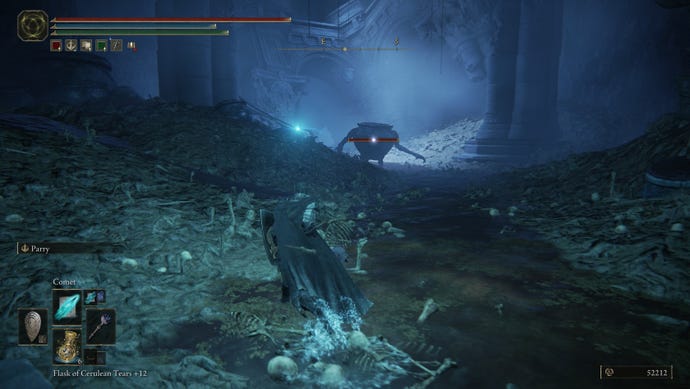
Proceed into the next room, which is replete with hanging jars. Three Jar Innards lurk here, and you can find Innard Meat and a Frozen Maggot on the ground and a Raw Meat Dumpling in the interior of a jar. Keep moving into the following room, fight another Jar Innard, and you'll emerge onto a platform overlooking a lower section of the main Bonny Gaol pit chamber.
Go down the stairs to your left, pick up a Silver Horn Tender in the first room, take out the Shadows by the ledge, and investigate all of the other rooms until you find a door that you can interact with. Open it, go through, and you'll be on a ledge with a jar hanging close by. Jump on the jar and let it carry you downwards to a lower platform connected to a bridge. A circular button lies here, along with another Shadow.
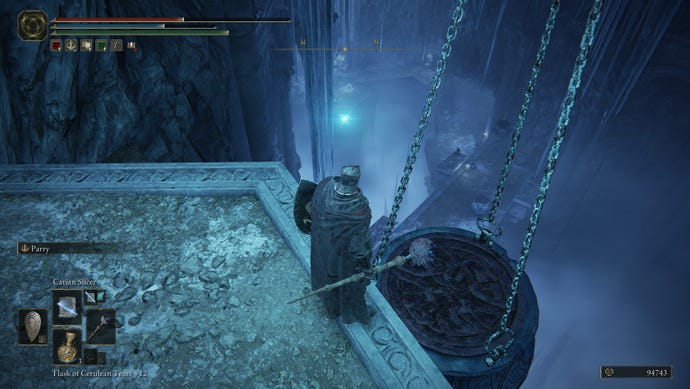
For a quick side trip, you can hop on the circular button if you want the jar to rise back up. The jar will actually elevate you to a previously inaccessible platform where you can kill two Shadows and pick up the Night Armor set, which lies on the body of a poor soul who died in this gaol long ago. After you've got the armor, climb the nearby stairs, kill the Jar Innards, and grab the Shield of Night from the corpse before retracing your steps back onto the up-and-down pots that got you here.
Once you're ready to proceed, cross the bridge. Two Jar Innards lie in wait, and there's a Shadow sitting on the edge of the bridge that you can put out of its misery if you so desire. After you reach the other side of the bridge, leap down to the platform below, pick up another Frozen Maggot, and kill another Shadow and Jar Innard. Go down the ramp and the boss room will be in front of you.
How to defeat the Fog Rift Catacombs boss
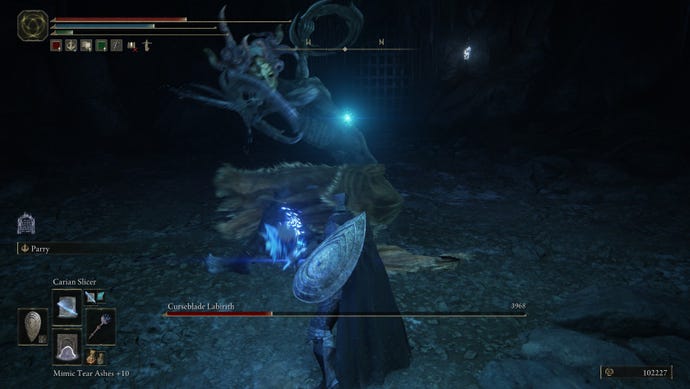
Curseblade Labirith is the boss of Bonny Gaol, and will immediately cast darkness over the arena and turn himself invisible before lashing out at you with several quick strikes. Luckily, Curseblade Labirith isn't very tough, and the Sentry's Torch can reveal his whereabouts. Rolling away from Labirith and staggering him with a fast array of melee strikes or AoE magic will be enough to deplete his health bar in short order. A Spirit Ash with good durability can also totally steal his attention, letting you slam into him at your leisure.
Once Labirith falls, you'll be awarded the Curseblade Meera Spirit Ash, along with 100,000 Runes. A teleporter will appear to deliver you back to the gaol's entrance.
That's a wrap on Bonny Gaol. For more Elden Ring: Shadow of The Erdtree dungeon walkthroughs, take a look at our guides to the Ruined Forge Lava Intake, Taylew's Ruined Forge, the Fog Rift Catacombs, and the Darklight Catacombs. If you'd rather read up on reaching tricky areas of the Shadow Realm, check out our guides for getting to the Cerulean Coast, the Cathedral of Manus Metyr, Charo's Hidden Grave, and the Stone Coffin Fissure.


